Continuous Integration for Azure Web App Service Deployments using Appveyor - C# ASP.Net MVC Core

The Travis Continuous Integration Platform Died…
A few days ago the Travis CI continuous integration platform ran into issues. At the time we were actually running some of our Microsoft Azure Web App Service ASP.Net MVC Core deployments via their service, and had it not been for us working in a manner of continuous delivery we’d have hung on tight till they resolved the issues (and given their recent acquisition and half the team being laid off, optimism wasn’t top of our list) .
Mitigating this risk became a necessity quite quickly, given we were full throttle working to get a complex new feature into production. I figured it was a great opportunity to turn a negative into a positive and flip our deployment cycle to a different provider…

Travis Continuous Integration - Status Issues
Introducing “Appveyor”…
“Work smarter, not harder”, and that’s exactly what the Appveyor team have given the tech industry with their continuous integration platform. The service is designed to automatically pull in your latest code changes from Github, run a build (simple of complex, depending on your requirements), followed by a smooth deployment to your production cloud servers.

Appveyor Continuous Integration Platform + .Net Core
What’s Continuous Integration?
In a multi-person dev team, code changes are always interlinked. The issue here is that you are at risk of integration problems (commonly known as “integration hell”), when conflicting changes are made on a branch of the code base which has remained checked out for a long period of time, only to be discovered last minute when the branch is merged and the breaking changes are revealed. Eventually the repository becomes so different from each developers baseline that you end up in “merge hell”…where integrating the code changes takes longer than it did to…actually write the code change itself in the first place.
By ensuring that each developer commits to the baseline each day, frequently, and thus triggering a fast build, integration issues and build failures will arise and can be fixed at the point of occurrence rather than being discovered late on in the development cycle. Successful builds are automatically deployed, so let’s talk about that for a minute…
Remote Into Server, Copy/Paste DLL’s, Restart Service…
…Or at least that’s what you used to do, before DevOps came to fruition and Agile Methodologies became the default way to hammer out new features…
In a similar manner to Travis, Appveyor makes use of YAML files to allow you to configure your deployment with a series of values (although you can do this via their UI also). The system has full support for .Net Core and Microsoft Azure Web App Service deployments, which is perfect for the scenario that we were running when these issues arose.
Let’s Code…
For this simple example, you’ll need an ASP.Net MVC Core project repository stored on Github, and a Microsoft Azure account.
The first thing to do is deploy a live Microsoft Azure Web App Service Server and pull down the publish settings for that (I’ll assume you know how to do this already). Next, head to Appveyor and sign up for a new account.
At this point you’ll need to create a blank appveyor.yml file in your ASP.Net MVC Core solution. Within our YAML file we are going to define a series of sections that cover the different things we can configure. Let’s start with the general configuration section that determines our versioning for each build cycle, along with a branch whitelist for our Github repository. In this scenario I’m whitelisting the master branch so we only build fully merged and approved pull requests for production.
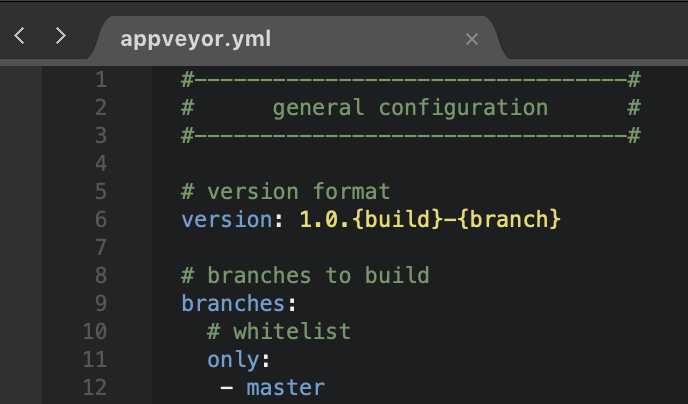
Appveyor Continuous Integration - YAML
Next is the environment configuration which involves us telling Appveyor’s Git client to only clone the current branch with no history. Here we also explicitly state the VM image that we would like to use as our build workers image, followed by us ensuring that we cache any necessary file and folders between builds (i.e. Nuget packages, in this case). Finally for good practice, since the line endings are different on Windows vs. Mac OSx/Linux, let’s handle that too.
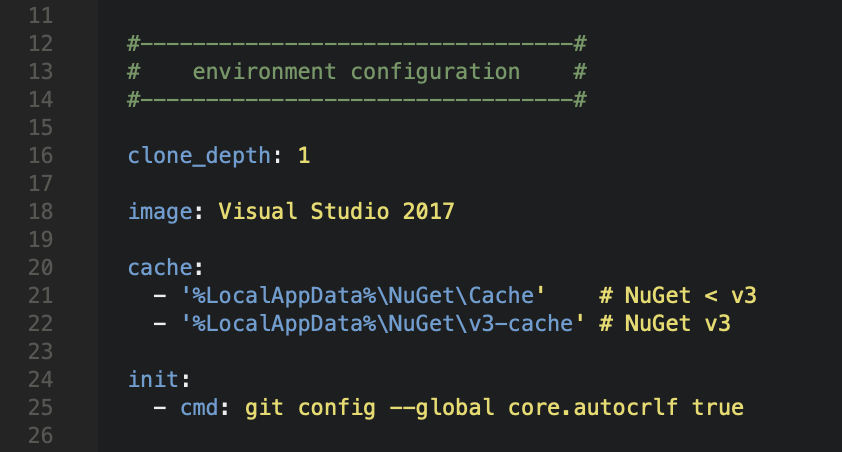
Appveyor Continuous Integration - YAML
Now onto the build configuration. Here we can state what the build platform should be, although this part is optional. For arguments sake I’ve set it to any CPU. The next part is important - Only build in Release mode please (in our case). Now we can add a few extras in for clarity, such as displaying the .Net Core version in the build log along with the verbosity of the log. This next bit is key as we’re telling Appveyor to publish the output of our applications build and the location of that specific .csproj file. You also have the option here of defining an after_build section for anything that needs cleaning up or configuring etc before the magic happens.

Appveyor Continuous Integration - YAML
Now to configure the artifacts that we want to deploy. Essentially we are telling Appveyor to take everything from the publish directory and create a Zip file with a type setting of WebDeployPackage, and deploy it to Appveyor’s cloud storage in preparation for sending it to our live Azure Web App Service.

Appveyor Continuous Integration - YAML
The next step is key as we define the deployment configuration. Remember that publish settings file we downloaded for our Azure Web App Service? You’ll need to obtain the password for publishing to the server and head over to Appveyor’s platform. On the settings menu there’s the option of “encryting YAML”.
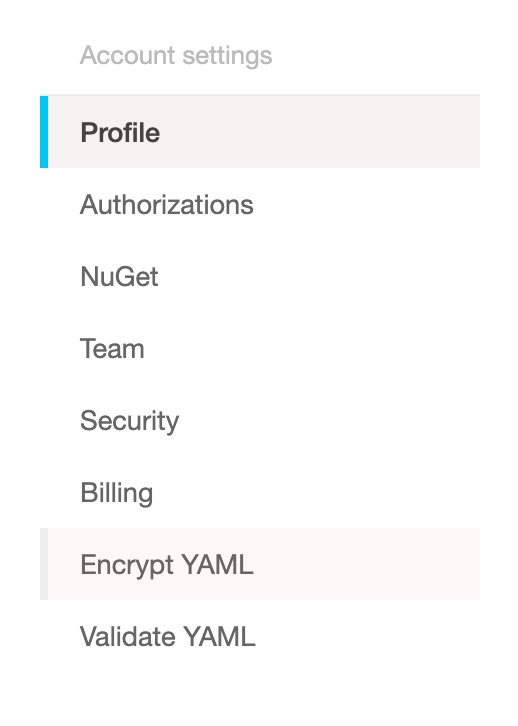
Appveyor Continuous Integration - Encrypt YAML
We need to utilise this to encrypt our password so that it’s not exposed in raw plain text to anyone else (particularly important for open source projects).

Appveyor Continuous Integration - Encrypt YAML Data
Now that password value is secured, let’s define our deploy section with the initial values stating that we want the provider to be WebDeploy, along with the server, website (name) and username values from our publish settings file. Finally, we can assign our newly encrypted password value to a password secure variable, followed by stating the name of our artifact as defined by us in the previous configuration section.

Appveyor Continuous Integration - YAML
“AppVeyor generates a unique encryption key for every account. To encrypt variable values go to Settings → Encrypt YAML page. “Secure” variables means you can safely put them into an appveyor.yml that is visible to others.”
Once those aspects are configured, we can add some minor settings to our YAML, firstly stating that we want to use checksums for comparing the source and destination files, and then to indicate that our artifact Zip file contains an ASP.Net Core application. Finally, we want to “poke our application’s web.config file”, in order to force a restart after deployment…
Ok, To The Cloud!!!
So our YAML file is fully configured in order to build our C# ASP.Net MVC Core source code and deploy it to our Microsoft Azure Web App Service server. A quick check to see that our server is live…
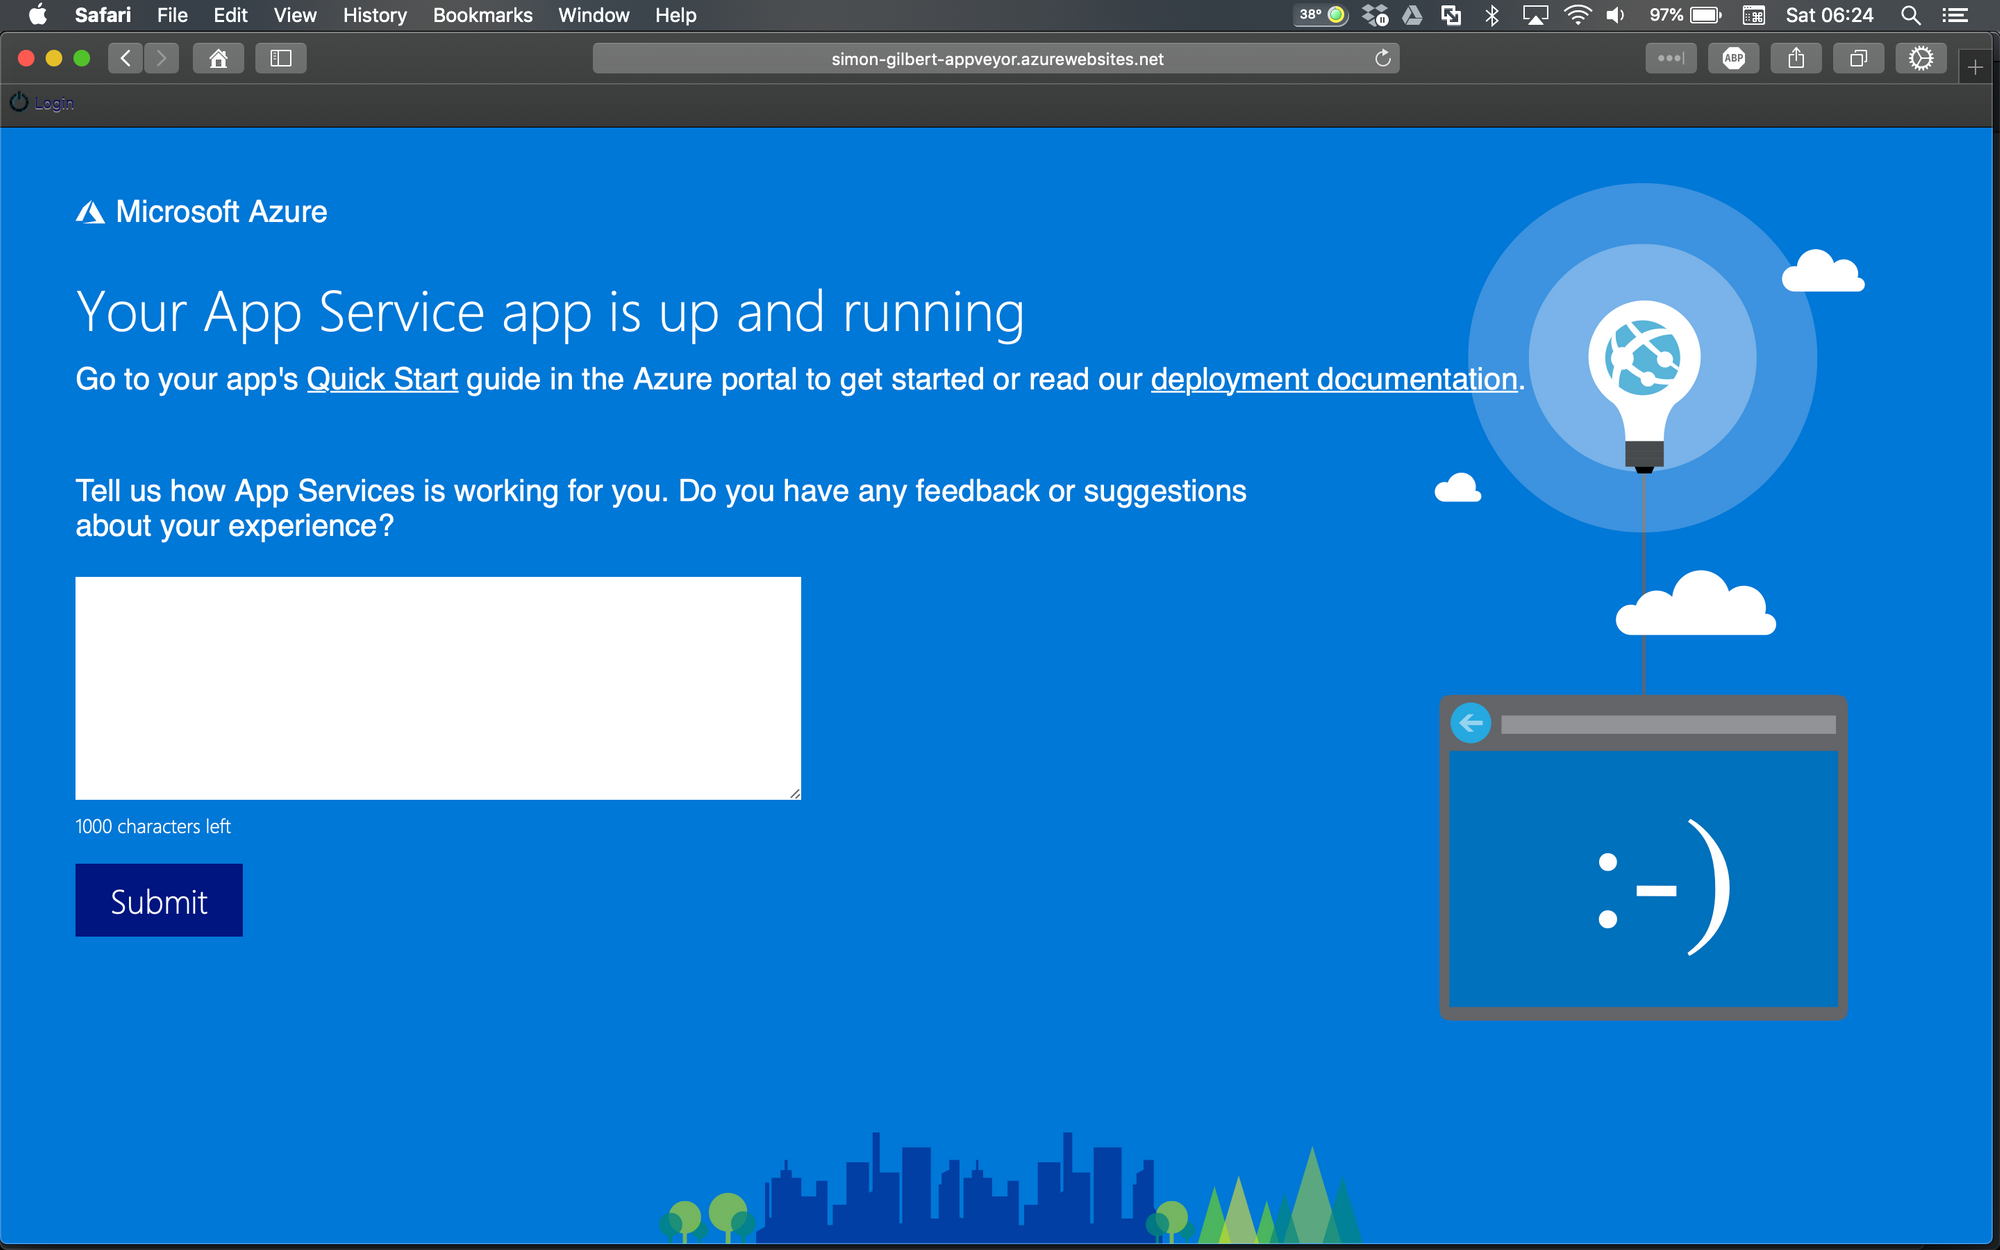
Appveyor Continuous Integration - Azure Web App Service
Head back to Appveyor and add the project into your account…

Appveyor Continuous Integration
…once you’ve authorised Github to access your repositories.
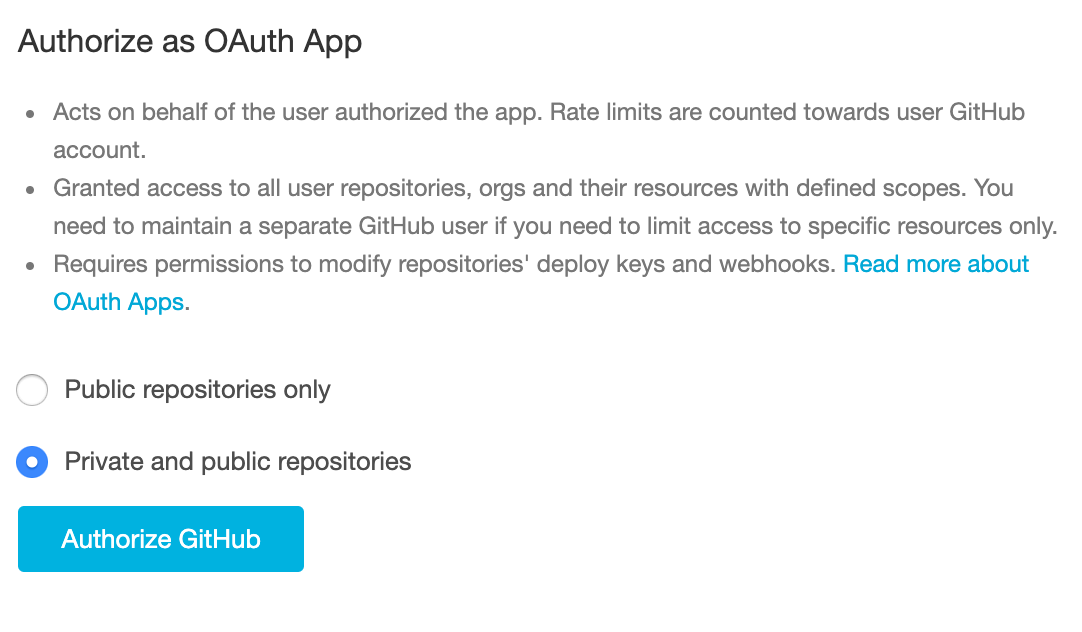
Appveyor Continuous Integration - Github Authorisation
Ready to push your latest commit to your Github repository and observe Appveyor build and deploy your project to Microsoft Azure? Let’s go!

Appveyor Continuous Integration - Github Commit
At this point the automated build begins and the Appveyor image worker begins to work its magic…
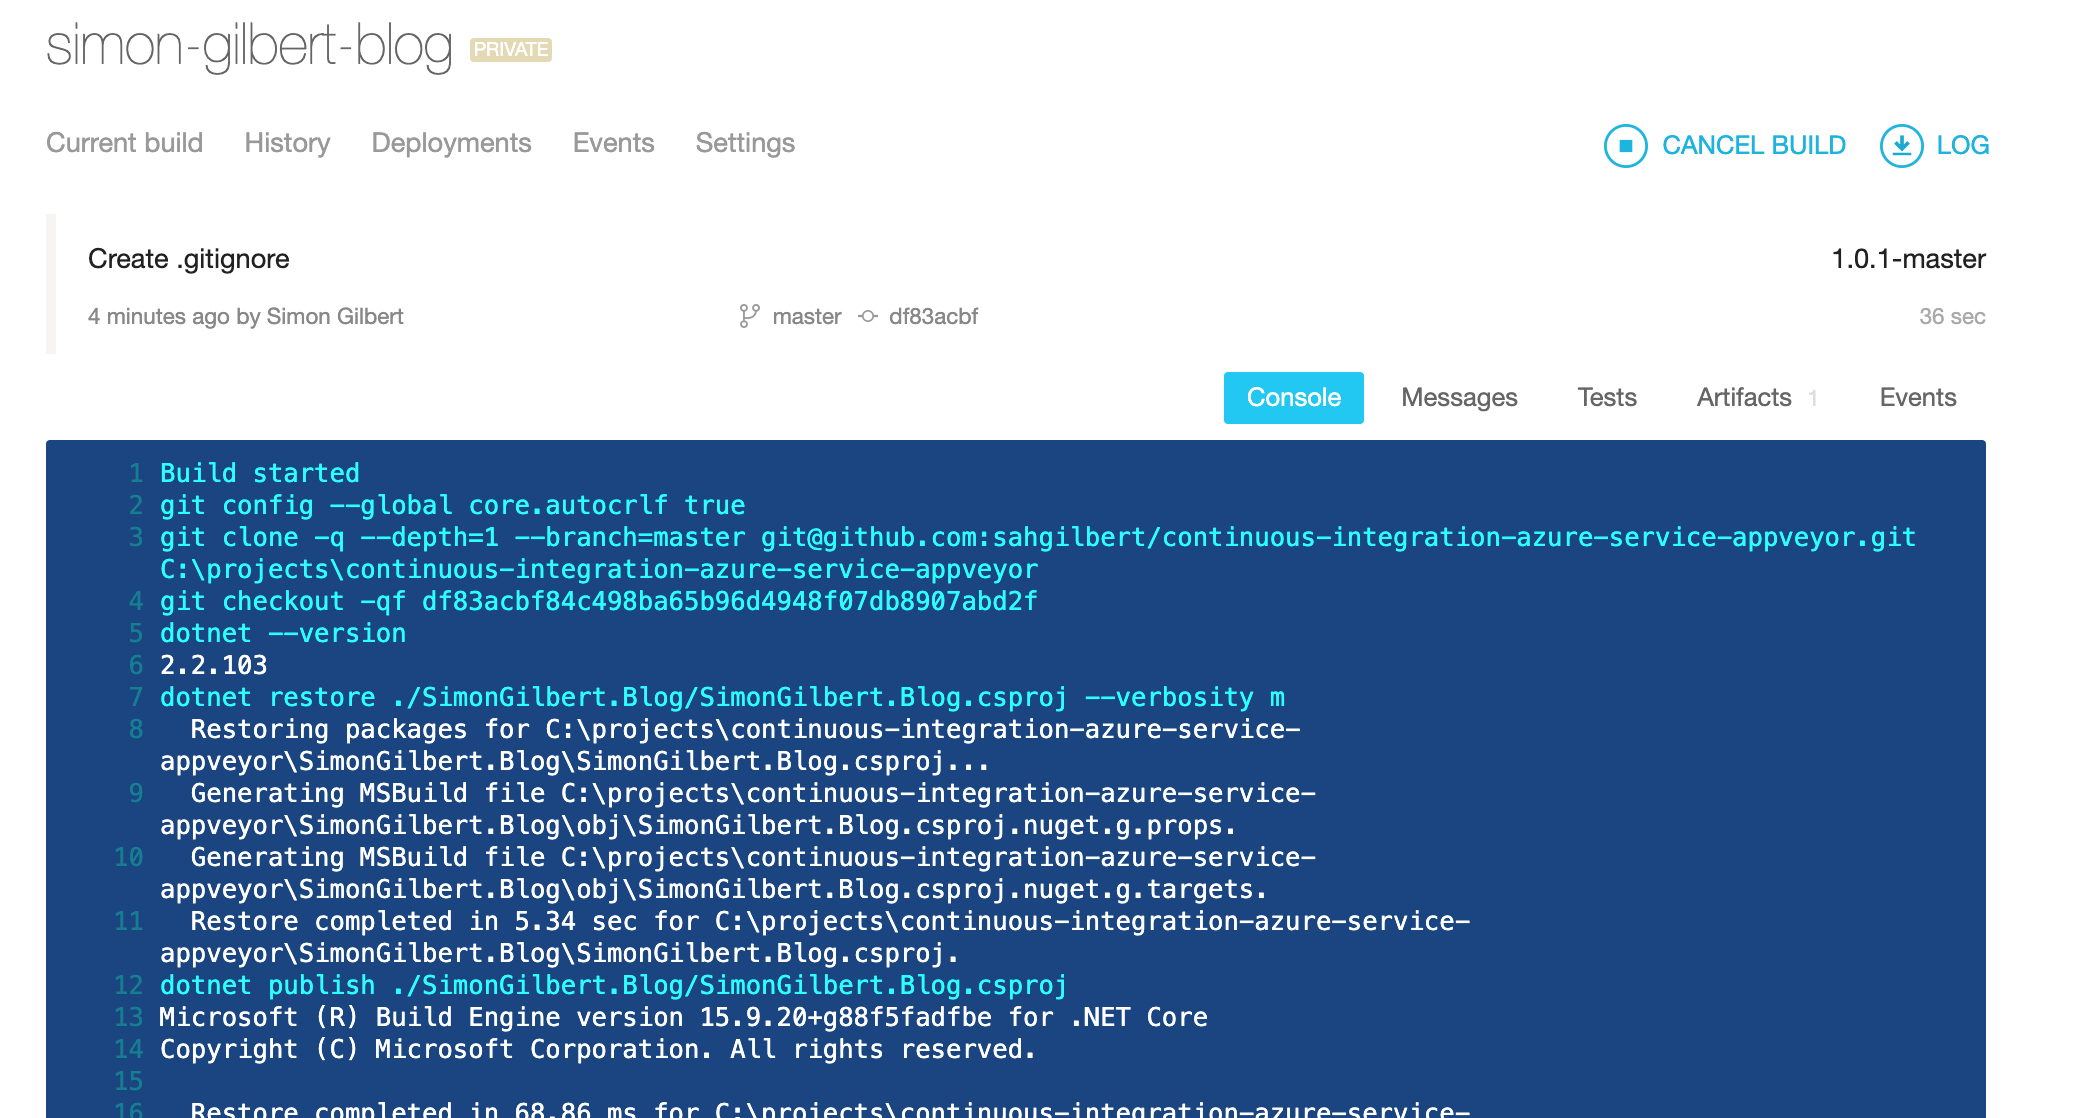
Appveyor Continuous Integration - Azure Build Log
The artifacts are collected and uploaded to Appveyor’s cloud storage, and the deployment begins using the configuration settings we provided in our YAML.

Appveyor Continuous Integration - Azure Build Log
Finally, a successful build and deployment is complete!

Appveyor Continuous Integration - Azure Build Log Success
Let’s head to our Microsoft Azure Web App Service URL in the browser and verify that our ASP.Net MVC Core application has been deployed successfully to the cloud.

Appveyor Continuous Integration - Azure Web App Service Deployed
Looking good! But before we finish, take a look at the artifacts tab on our Appveyor project page…
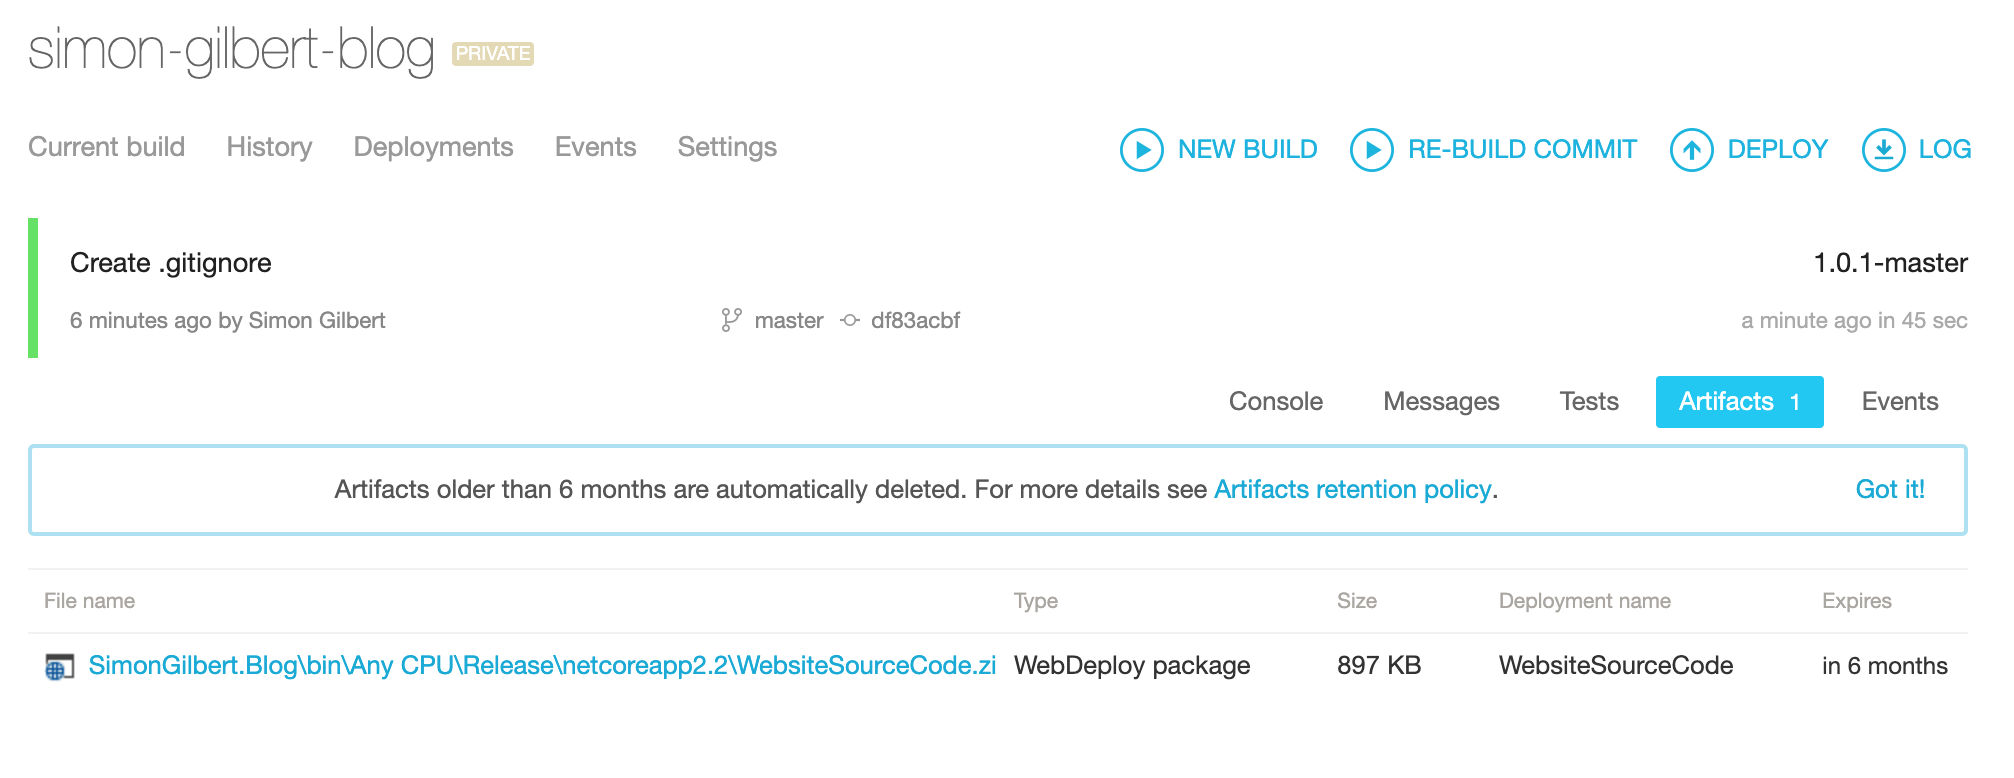
Appveyor Continuous Integration - Azure Web App Service Artifacts
Finally
Have a read through Appveyor’s YAML config walkthrough - There are so many fantastic features that you can configure aside from what we’ve covered today, all the way to real-time webhook notifications to keep your dev team in the loop when those build conflicts arise…
Enjoy!